Photocredit: Stock Photo
New communication technology and society shifts will require that the missionary produce compelling and quick videos - often just head shots. This is intended to provide a resource in embracing the learning curve.
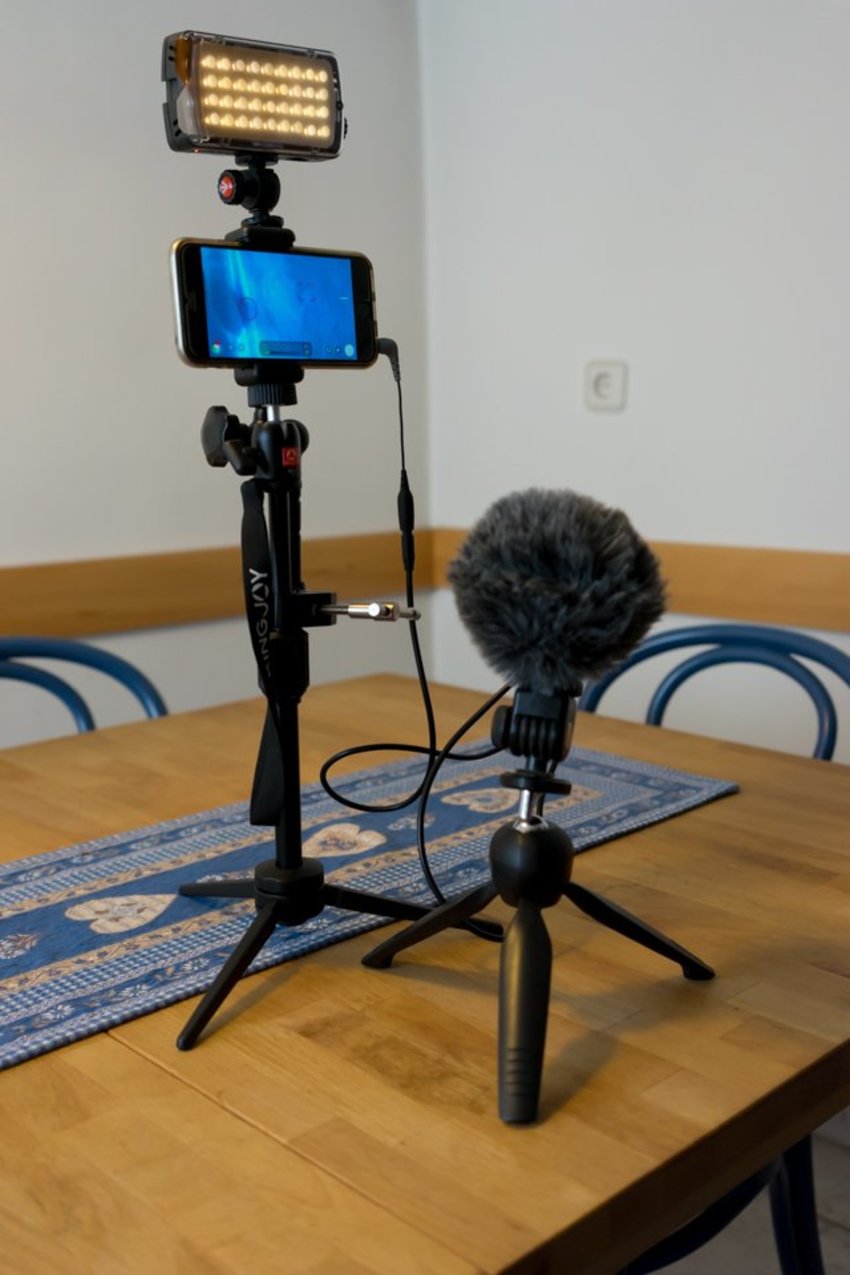
Shooting quality Video on iPhone or iPad - it does not require purchasing expensive equipment anymore, you probably have access to most of the equipment already.
With my gear and experience level, I can now
- break out my portable set,
- shoot the shot,
- check the audio,
- get it online and
- tear down and store the set
in less than two hours. My next area to explore and enhance will be in lighting adeqautely so that the footage does not have as much video noise. I produce 1280x720 in HD at 24 frames per second, but online it is 860x544 to match this layout format. Audio is now good, so I want a better image.
Please note these cell phone drawbacks:
Set your wifi to Airplane mode - depending on your length of video and audio amplification, you will prevent nasty and noticible clicks as it accesses the internet.
Cell phones create nasty video noise in low light, so make sure you have enough lighting - preferably not flourescent tube casting green.
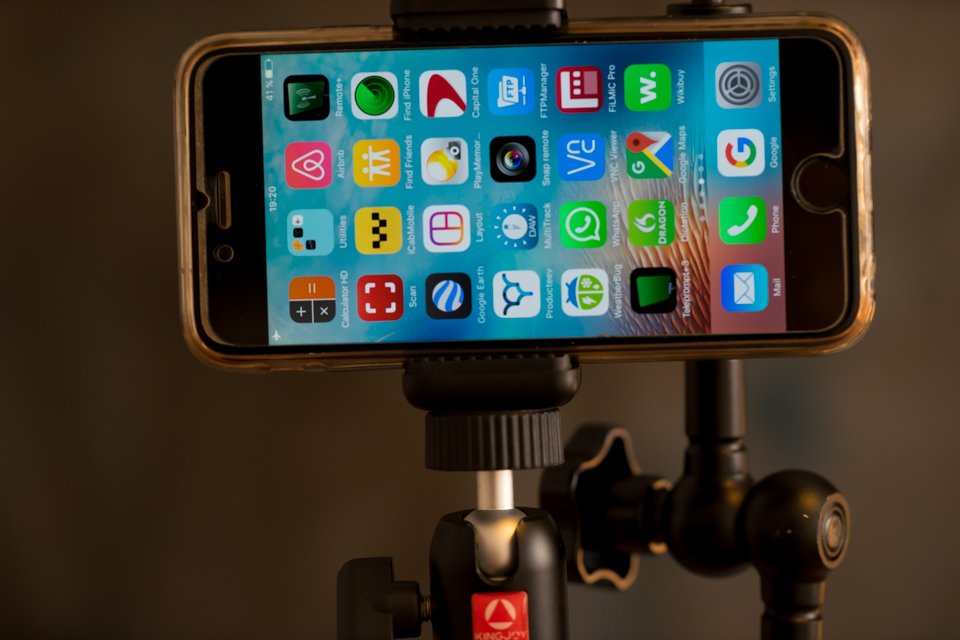
Tripod Mount
DIY
Supplier
Ulanzi CPC-02 - Metal. On Ebay for Euro 21.25
Ulanzi Cellphone Video Rig - Euro 11.99 (I just purchased this one today, because of the price and he multiple accessory mounts.
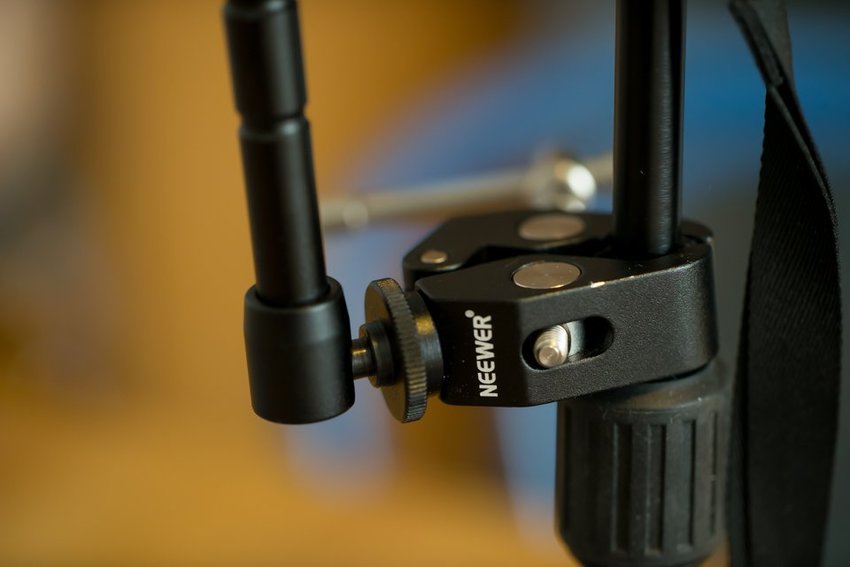
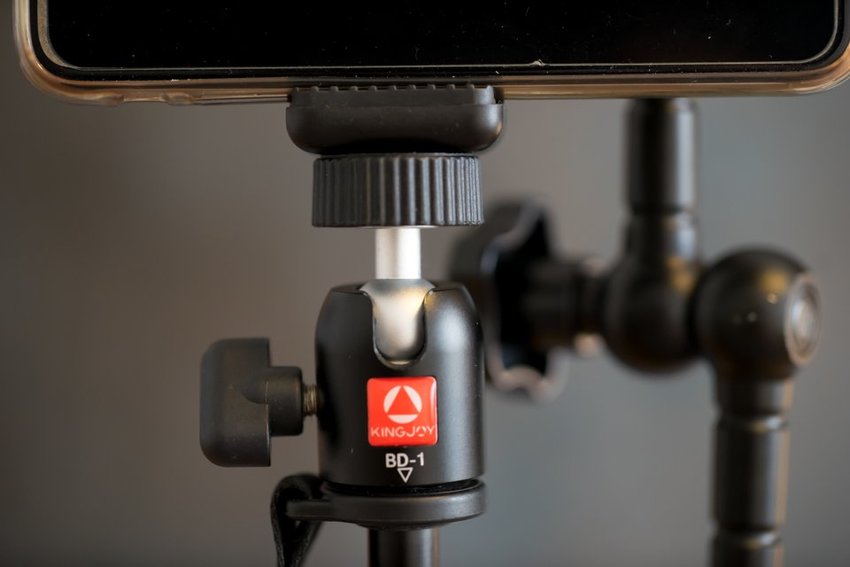
Tripod Mount, 2 quickshoe mounts, vertical or horizontal - the other 1/4 mounts provide optional ball mount positions for additional accessories.

Audio
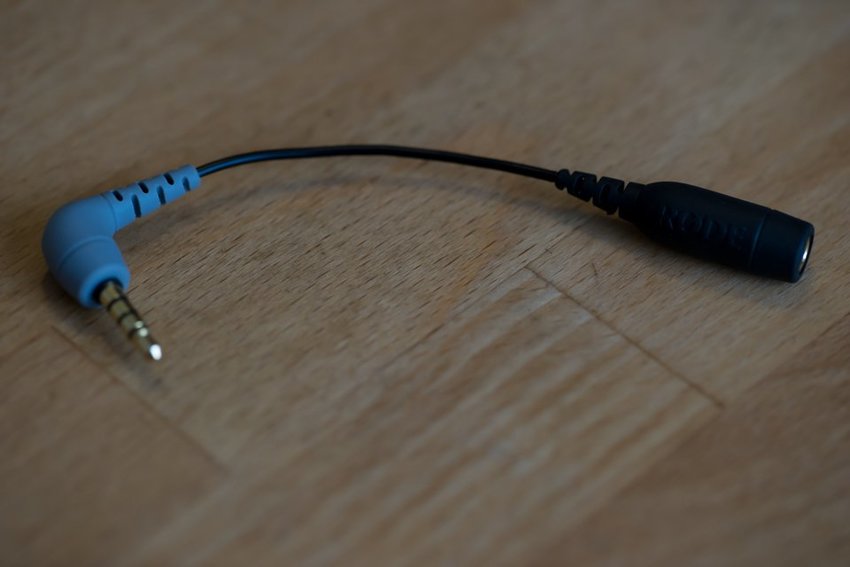
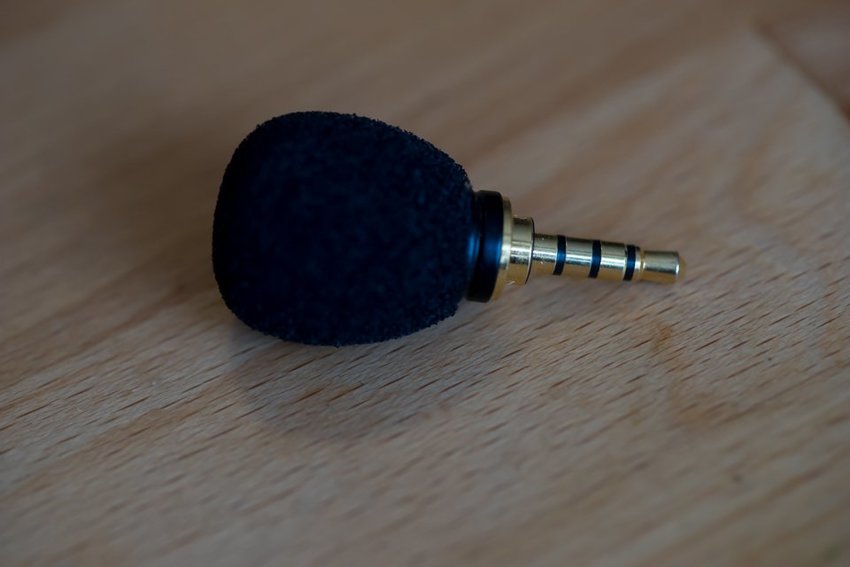
There is a change in modern phone and tablets to a TRRS input (4 ring)! Older microphones no longer work without an adapter. Everything about a video begins with an audio foundation - so start with good sound.
Plug in Microphone
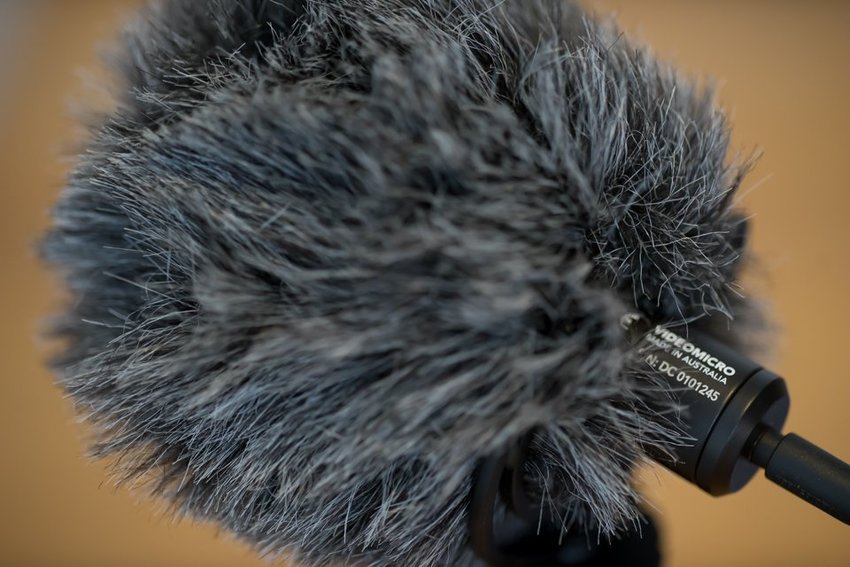
Rode VideoMicro - My microphone of choice for quick vlog videos.
App suggestion
$16.99
Filmic Pro Guide - What I use to shoot quick iPhone videos.
Background
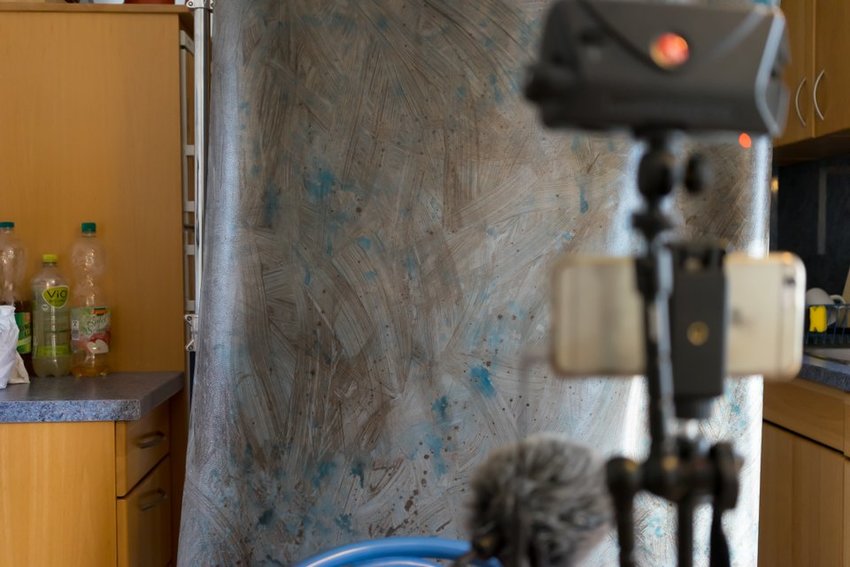
You want the focus to be on the message not the clutter on the shelving unit, so consider a background - even just taped over a door frame. I made one today following tutorials on Youtube: DIY Photographic background. They can also be bought via Ebay new from China for under Euro 20. I use really inexpensive stands found on Ebay for holding the background, but anythin will do - as long as it gets the job done.
Lighting
Make sure you are well lit: A side window or light will suffice - a reflective wall is also good. This video was not well lit and produced too much noise - it is a learning curve.
Format
I produce mine in mp4, because any modern platform can show them - Apple or PC, Desktop, Tablet or Cell Phone.
