Photo credit: Stock photo
In the attempt to find an ever cheaper and easier video recording solution that is repeatable, I have searched for various microcomputer solutions - and decided to attempt to build one on a Raspberry Pi system. If you are uninitiated to that electronic gadgetry, it is not a pie to consume, but an inexpensive computer system that can be programmed to do various tasks.
My goals were:
An onscreen/touchscreen menu system,
Record video/audio,
Convert that to an mp4 video,
Transfer those files to my computer via wifi,
Remove or empty the subdirectory,
Power down safely (Rasperry Pi's are coding saved on a Micro-SD storage card and the coding becomes damaged, if not powered off properly.)
Powered with a battery unit so it becomes portable.
The hardware:
I was able to gather my parts from Ebay or previous projects:
Raspberry Pi 3 (that has built in wifi) - Euro 60
which included a 3.5" touch screen, 16gb memory storage card, external USB sound board. (Raspi's do not have a sound "in" channel, so a USB becomes the solution)
The Picamera V. 2 - Euro 30.00 on Amazon.
An external microphone - I already had the Rode Video Mic - problem solved.
A steel angle bracket became my cheap stand. Euro 1.30
Total costs: Euro 91.30 ($109.56 at current exchange rates). Your experience will certainly vary.
Assembly notes:
There is a learning curve, in that the code is a combination of both bash and python scripting.
Older projects found via Google provided the basis for most of the coding, although I adapted quite a bit. The handy PiMenu code became my onscreen solution, once I installed the proper LED Tft touchscreen drivers.
I had to install quite a bit of software on the board - via Ethernet - during the process. The biggest challenge was setting up and compiling the necessary FFmpeg code. I had to figure out that the external USB sound card required ALSA drivers and those needed to be declared. Nerd alert! Simple, once you understand: "--enable-indev=alsa --enable-outdev=alsa" in the configuring section.
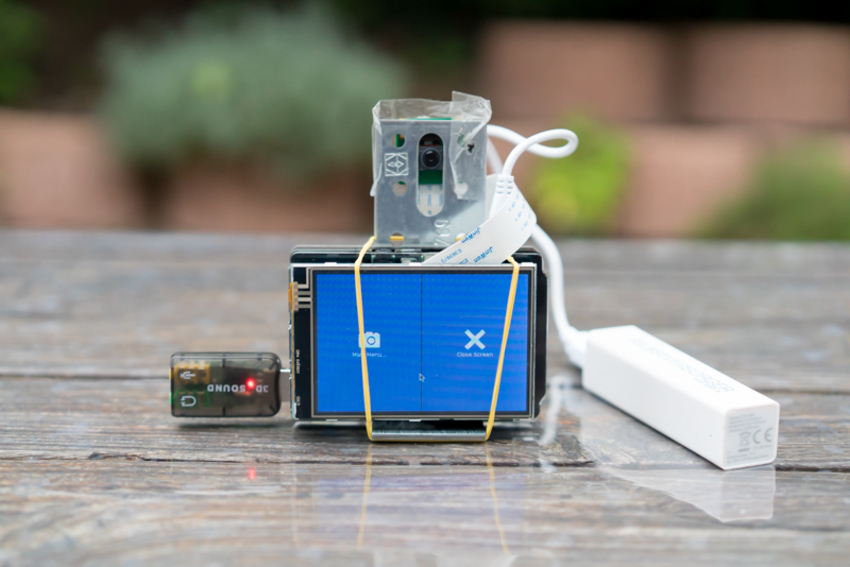
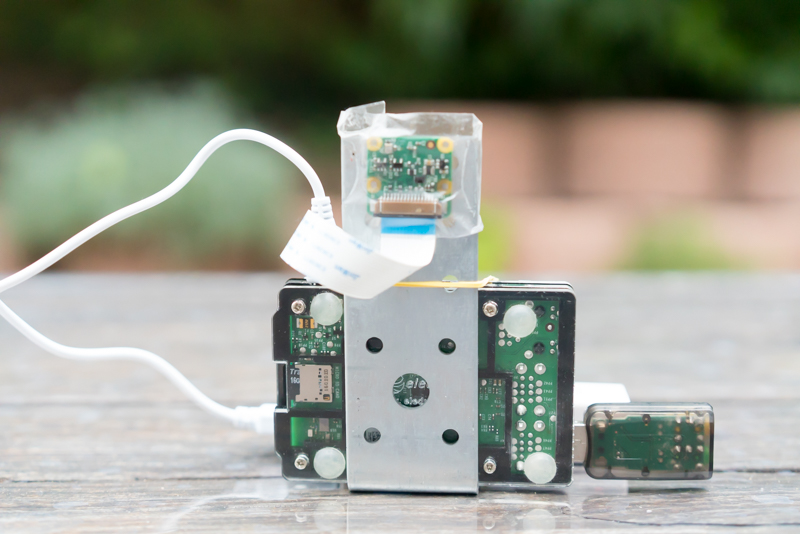
The camera - a rough working prototype is completed. Notice the rubber band holding the computer unit to the angle bracket. The tape holding the camera is also a nice touch. Stylish.
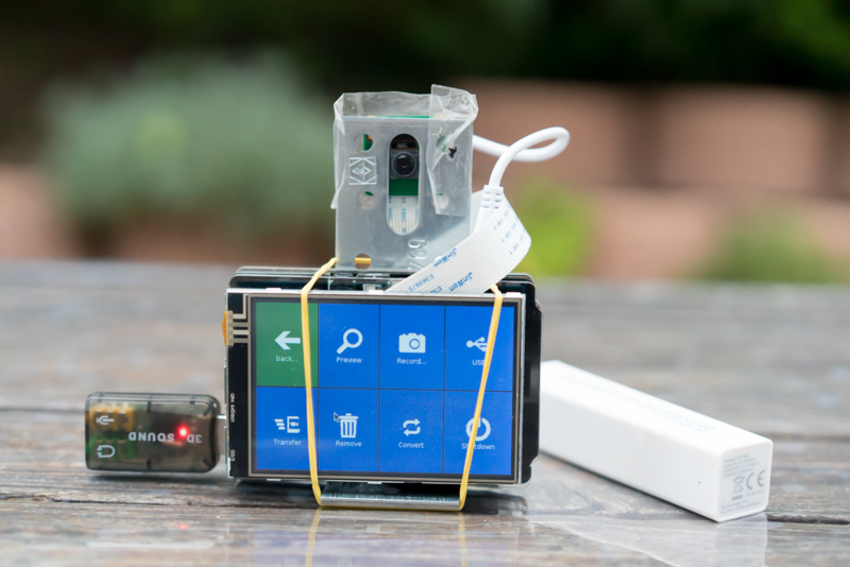
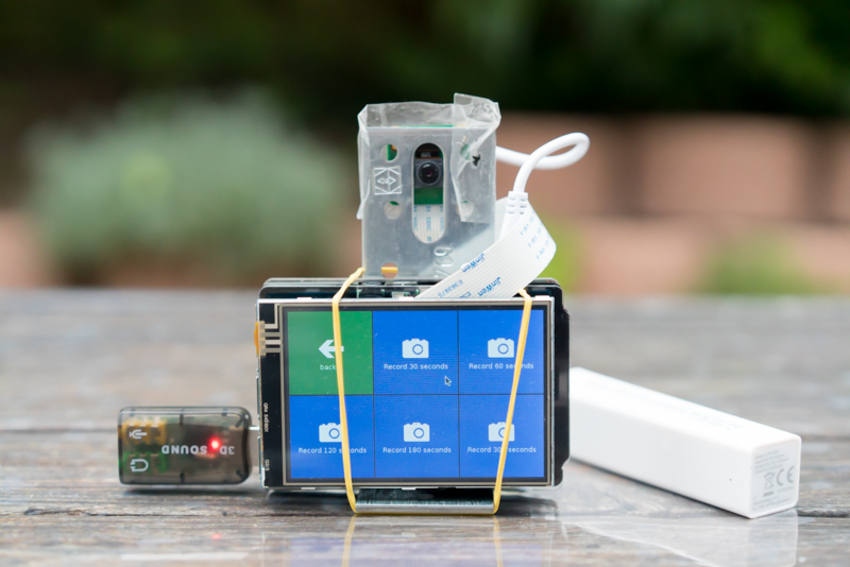
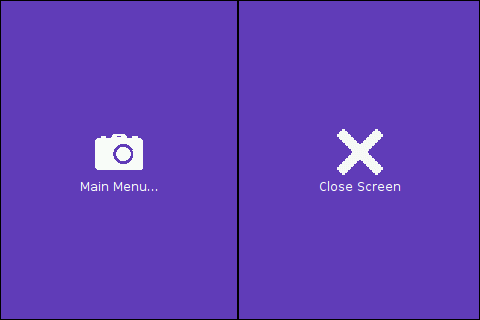
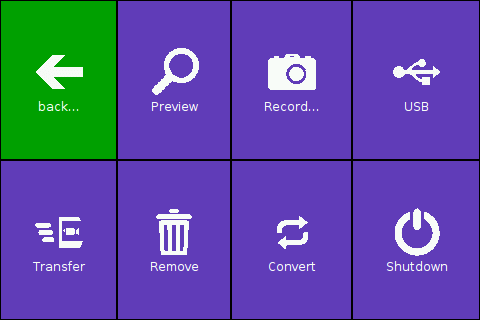
Now it is up and running and here are the menu screen shots.
The main menu either goes to the submenu or quits the program. Installing a USB keyboard will be required to access another router and security password. Or use the small onscreen keyboard for entry - accessed via the accessories pulldown.
Results:
Here is the working prototype.
The preview is a 20 second image, just to position the camera - there is no onscreen image during recording, but there is a countdown timer on the viewer. USB is to transfer the files to an external USB stick. Transfer is to automatically transfer the source files to a preselected desktop computer. Remove deletes all files from the recording subdirectory so that the card does not become full and prevent further recording. Convert processes the file to a mp4 files, ready to stream after uploading - about 4mb for a 30 second video. The upload/transfer subroutine will either process it to my home computer or to this website, depending on my needs. Shutdown will gracefully shut the computer off.
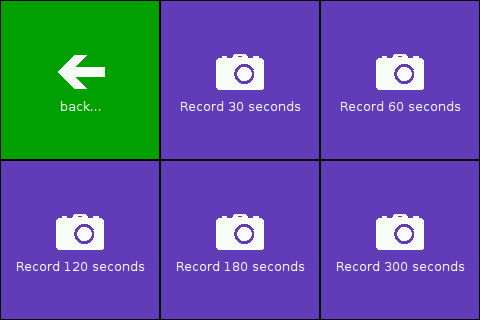
On the record submenu, there are five recording selections: a 30 second video, a 60 second video, a 120 second video, 180 and five minute video. Those can be changed. I would think that on onscreen stop button would be better, but I am yet to code that routine. Don't hold your breath.
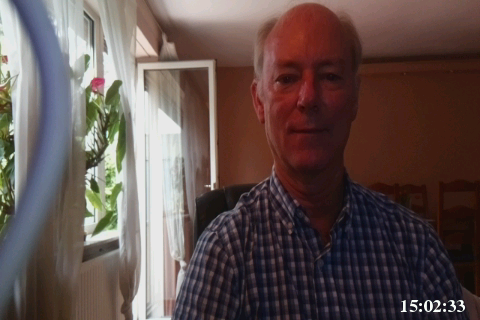
And here is a straight out of camera video test. Nothing has been enhanced, not even the audio track. (I am still working on a background solution since I shot this at my living room desk.)
Yes, I would be willing to share an image file of the entire coding as open source - that is the entire idea: Add value to others. Drop me a line, if you want a copy.
Initial impressions:
Pros
Quick and easy workflow.
No focussing is required.
Inexpensive.
Portable.
HD 1920x1080 is possible, although I have this one setup for 1280x720 HD.
Cons
No depth of field in this camera.
Wide angle lens - pretty much only good for up close head shots. I shot this video at a distance of about 50 cm (2 feet) - update: there is a crop (or zoom) feature to the code that allows for a better framed image.
Coding knowledge is essential to setup passwords and directory structure changes.
As of yet, there is no screen countdown to let you know how much recording time remains.
